Getting Started with WordPress
Looking to start a blog? Here’s how in five easy steps. No technical expertise or HTML knowledge necessary. The process is simpler than ever before.
STEP 1: SELECT A HOST
A web host is like the “landlord” of your blog or website. You own the digital content, but you’re paying a small fee to rent the space for your content to “live” online. I’ve worked with Bluehost, HostGator, and GoDaddy for past projects. My current host, personal favorite, and universal recommendation is Bluehost. I’ve never experienced one hiccup with their service, and after every single tech support phone call, I’ve rated the experience a 10 out of 10.
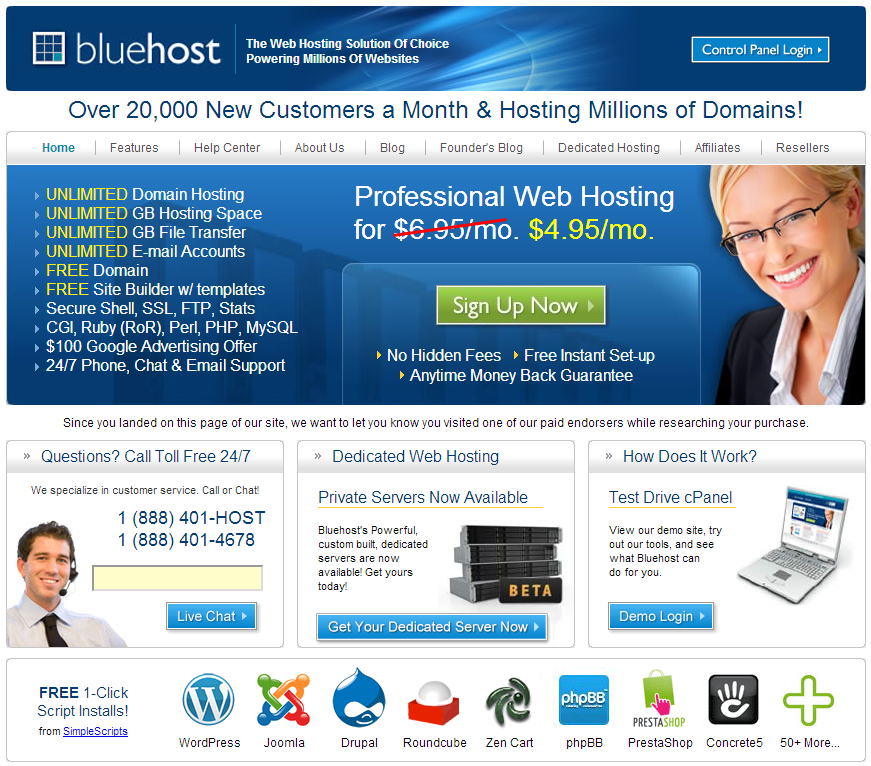
Have more questions? From the Bluehost main page, click the Help Center link near the top of the page and select the Getting Started option.
STEP 2: REGISTER A DOMAIN NAME
If you’ve chosen Bluehost as your host, simply click the green SIGN UP NOW button and you’ll be taken to this screen.
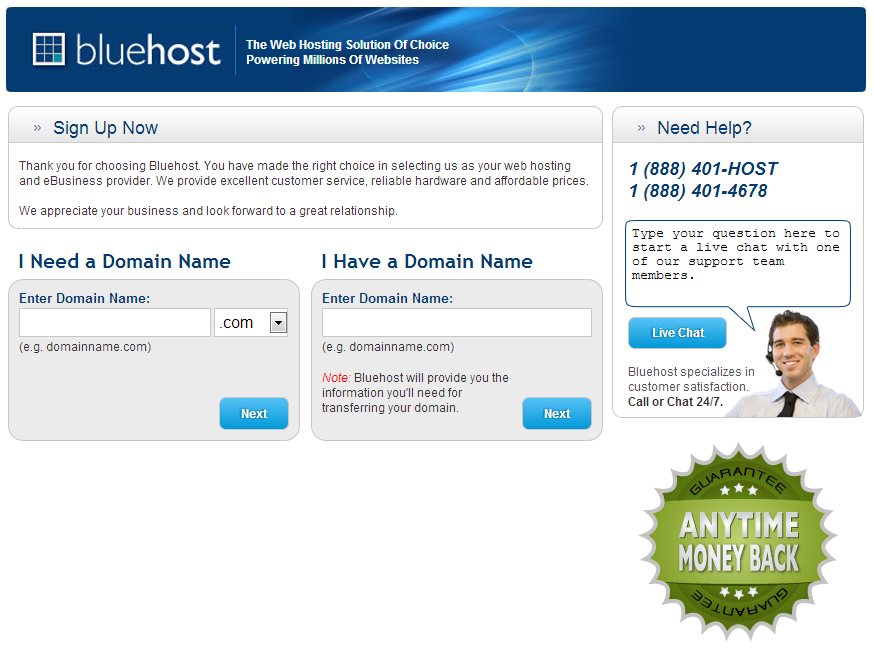
Every blog or website needs a domain name. The domain name is like the “address” of your digital real estate. From this screen, you can register a brand new domain name or enter an existing domain name that you’d like to transfer to Bluehost for hosting. Need more help? From the Bluehost main page, click the Help Center link and select the Video Tutorials option.
STEP 3: INSTALL WORDPRESS
WordPress is web software you can use to publish content on your website or blog. It powers some of the most successful sites in the world and is freely available to all. WordPress can be automatically installed through Bluehost in under 60 seconds with one click. Want to learn more about WordPress? Check out WordPress FAQs or this series of How to Use WordPress tutorial videos.
STEP 4: PICK A THEME
Once WordPress is installed, you can customize the “look” of your website or blog with what WordPress calls “themes.” There are literally tens of thousands of themes to choose from, many of them completely free. WordPress.org maintains a free themes directory. If you’re looking for a more professional look with versatile capabilities, be sure to check out the WordPress themes page.
STEP 5: WRITE YOUR FIRST POST
From your WordPress Dashboard, click the Posts | Add New option in the left-hand side menu. Once the New Post screen has loaded, enter the title of your post, the content of your post in the field directly below the title, and click the Publish button on the right-hand side of the screen. This literally publishes your post for the world to see.
Simple as that! You just published your first post on your very own self-hosted WordPress blog. Ready to start?
Questions? Check out WordPress FAQs.